Documentation
Getting Started
Learn how to integrate our AI-powered agents into your applications.
Quick Start
Get up and running in minutes with our simple signup process.
Setup your first agent
Go to Workspace. Click on 'New Agent' .
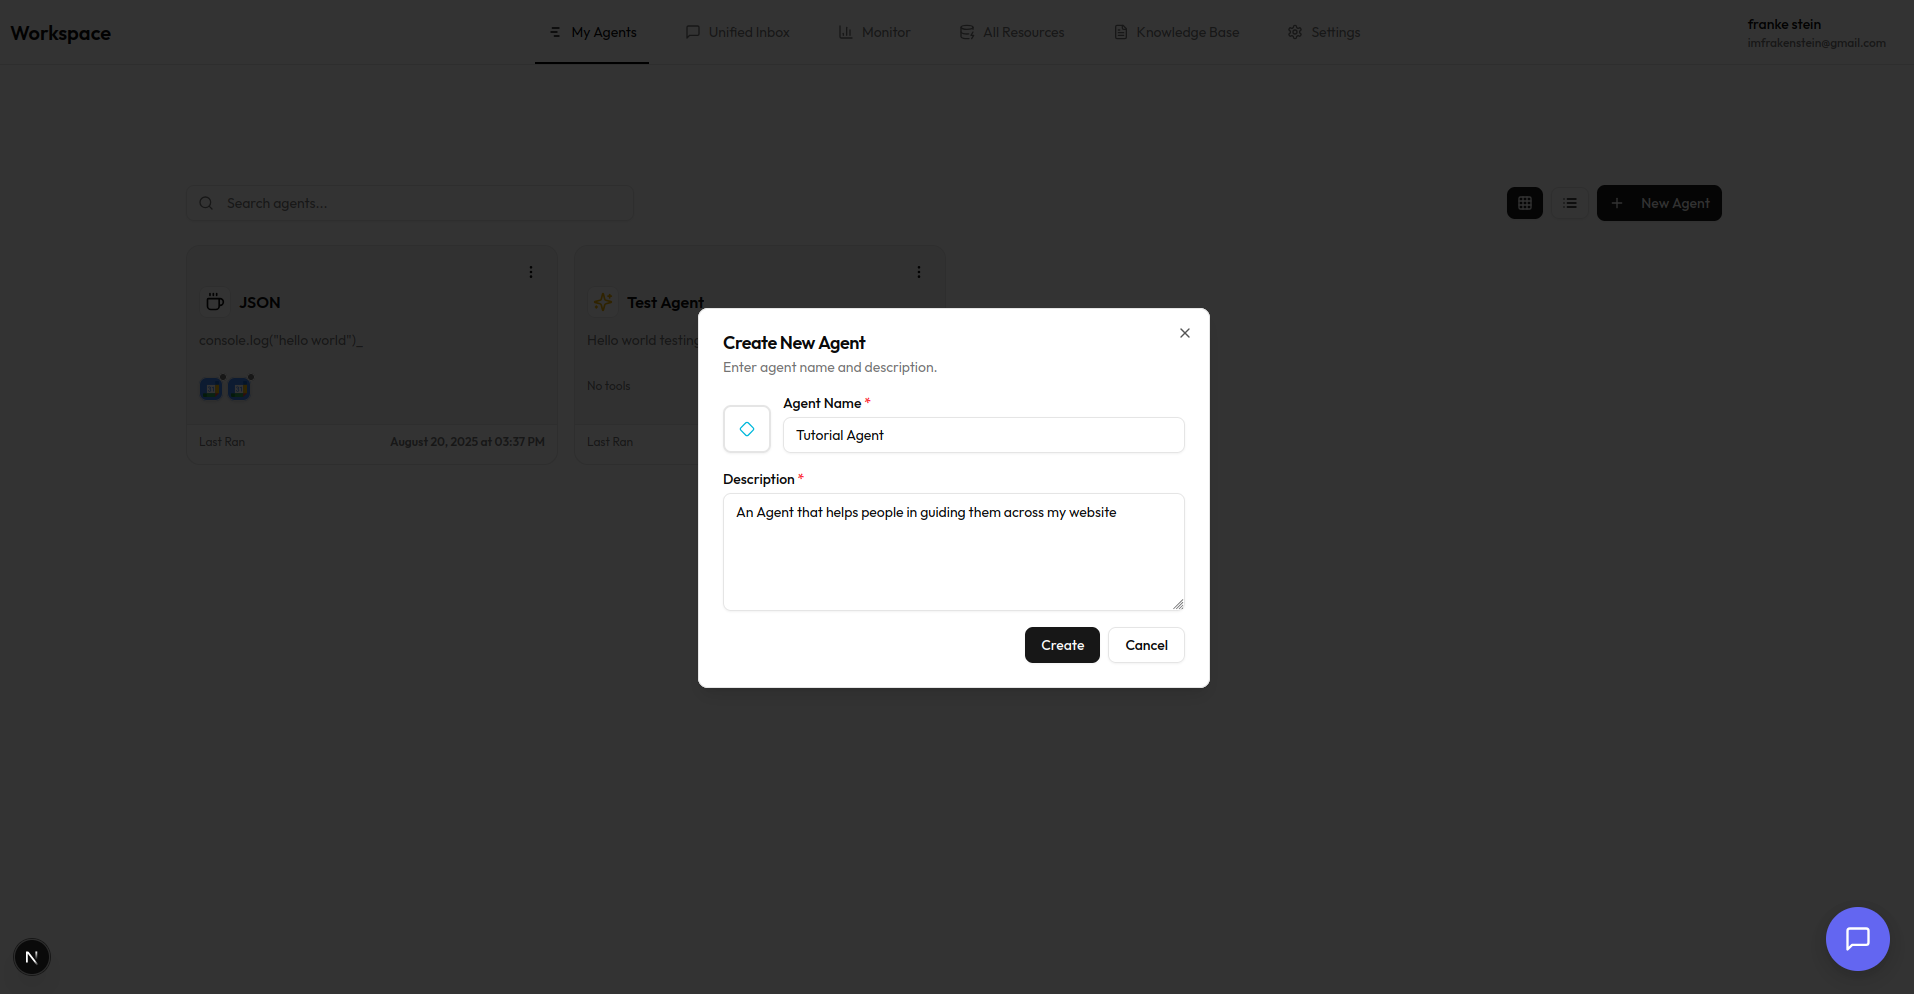
Create Agent Dialog - Configure your agent's name and description
Once created, click on it to go the agent workspace.
Embed Agent
Embed your agent in your website or application in 3 easy steps. To customize your chat widget design, refer here
Copy Embed URL
Copy the embed URL using any of the below methods
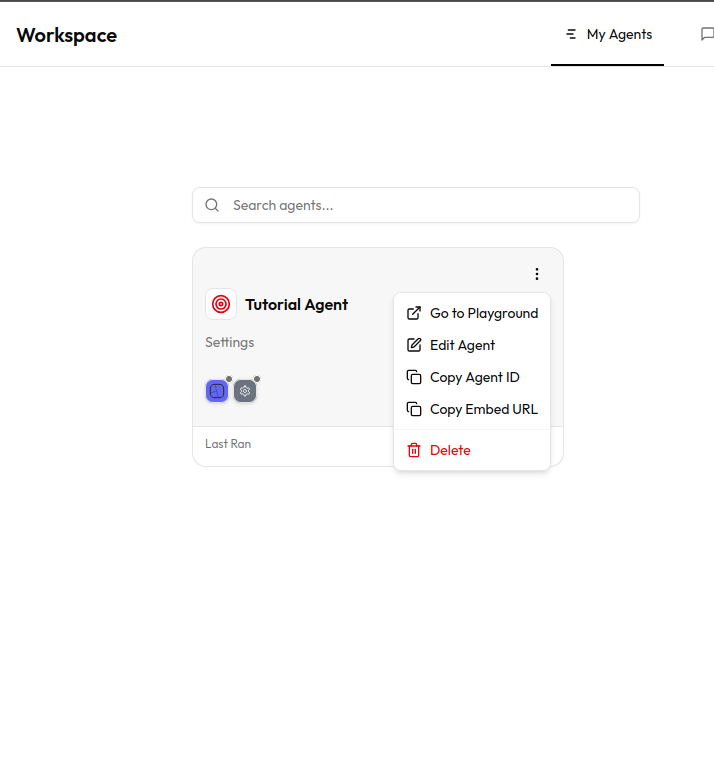
1.Dropdown Menu Options
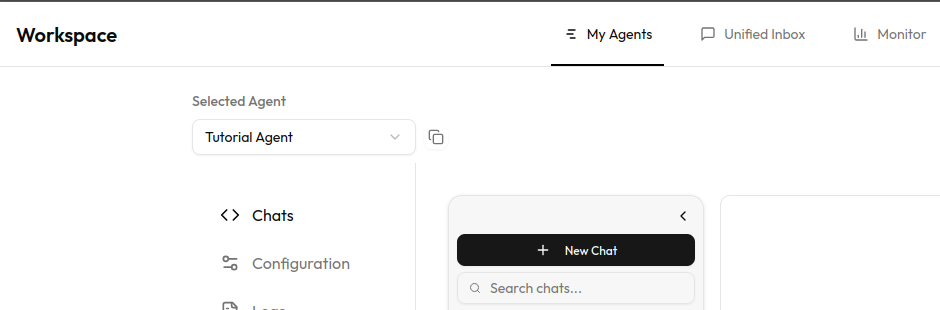
2.Click on the 'clipboard' icon to copy the URL in Agent's Workspace page
Allow Your Website Domain
For the agent to communicate with your website,you need to add your domain below in Agent's Settings Page
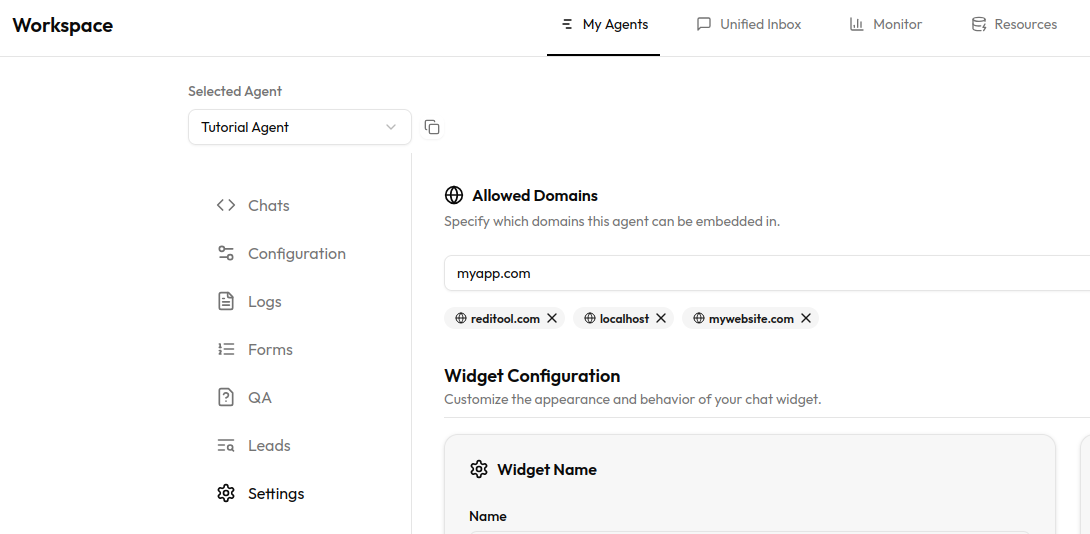
Agent Domain Settings
Embed the Agent
Paste the copied embed URL in your website. If you want the agent to be available in specific pages only, paste the url in route specific file or component
In .html files, you can paste them inside <body> tag
<body>
  <script src="https://heypascal.ai/widget/index.js?agent=xxxxxx-xxxx-xxxx-xxxx-xxxxxxxxxxxx"></script>
</body>
In React, you can add the below code in your component
useEffect(() => {
    const script = document.createElement("script");
    script.src = "https://heypascal.ai/widget/index.js?agent=xxxxxx-xxxx-xxxx-xxxx-xxxxxxxxxxxx";
    script.async = true;
    document.body.appendChild(script);

    return () => {
      document.body.removeChild(script);
    };
  }, []);